3D Patterns in wood
working

Hey there fans.
For some time I have been experimenting with designs in wood
art. Some of them make it to my grandfathers lathe and some are used in a flat
design, (cutting boards, lazy susan’s etc.) The 3D concept is a fun project and
although it has particular challenges, they can be overcome with practice and
determination (not to mention a lot of wrongly cut pieces in the scrap bin).
So without any further ado, lets get started.
Lets start with the tumbling block design.

As you can see this design is made up of diamonds. These
diamonds take some time and lots of scrap to get just right. You will need a
very accurate mitre box or cutting tool to get these just so. Proceed only
after you have a very tight uniform result or you will be chasing gaps and
spacing in the glue up and never get a good result. Start with pine before you
get into the expensive stuff. Here you see I have chosen ash, brazilian walnut
and brazilian cherry. Go for an equal contrast, ie: pick types of wood of equal
denisity and hardness and more important for the 3D, equal distances of
diversity in color. Two colors that are similar will highlight the third and
diminish the depth of the 3D’ish,ness ??? (is that a word) of the work.
Back to the cutting, each piece must be uniform in length
and length of cut. What does that mean? Well, they need to be equal length
across the cut and the running grain. All 4 sides must be equal for this to
work. The width of your material will form 2 sides. Likewise the length of your
saw cuts will form the other 2 and must be equal to the first two. This takes
some practice and a couple of custom jigs to get just right. The coolness in
the character of the 3D design is enhanced by the smaller diamonds but the
smaller are much more difficult to get right. A smaller diamond tumbling block
design is a real eye catcher every time but start with the larger on your first
try for simplicity sake.
I start the gluing with 3 diamonds and a hexagon. If I use
any clamping (which I usaly do not) it may be a rubber band. Holding them in
place for 10 seconds is more than enough though without any assistance or
clamps, then just set them aside to dry. If your cuts are right you need not
force a better fit with clamps.
In all wood working you can not and should not make up for
bad jointery with clamps. This will internalize stress within the piece which
will some day find its way to the surface and express itself. Besides, wood has
enough issues all on its own (moisture content, grain stress etc.) without us
adding to the mix.


Coming along fine

The problem with these 3D designs is always jointery and
glue up. You are essentially gluing up hundred of joints simultantously verses
multigenerational work in which the sections of multiple pieces are joined, a much
easier thing to do. Jigs help but honestly it is a mess. Don’t spare on the
glue, get it everywhere. Here is my glue up jig being used to hold for the belt
sander. I do run these through the planer also but only for uniformity and only
a 32nd or 64th off in any one pass.
Here is a hint on glue up jigs you will love. There is a
material that is used to paint the ends of lumber to keep it from drying too
quickly and also used to cover exotic woods so their moisture content does not
change. You know the stuff right, essentially a liqud wax which hardens into a
coating. This stuff is not hard to get and is sold by the gallon. I coat all my
jigs with it, especalay my glue up jigs. I use it on my some of my tools also.
Brush it on and wait 24 hours and nothing will stick to your jigs. It is God’s
gift to those of us who love glue.


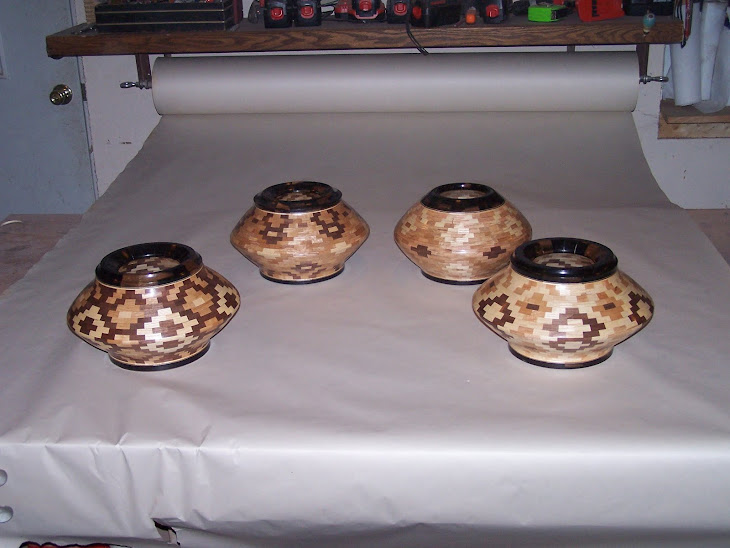
And here is the final product with edges of a 45
degree. With this design rounded edges do not seem to compliment the work. Now
we finish sand up to 400 grit and apply finishing oils that are food friendly


No comments:
Post a Comment